Start Your End to End Testing With Angular and Cypress
Start Your End to End Testing With Angular and Cypress
In this blog post we will cover how to get started with end to end testing using cypress and angular and the AngularCLI.
The code for this blog post can be found here
As a long term AngularCLI user I am very used to work with protractor when it comes to end to end testing. To be honest I did not like end to end testing that much. So I was looking for an alternative and this tweet from Dominic Elm pushed me more into the direction of cypress.
So I started taking a closer look.
Preparation
Cypress is an end to end testing utility which can run beside your maybe existing protractor tests. To install it run the following command and it persists to your package.json.
npm i cypress --save-dev
As your application has to run while cypress is testing it I use a package called concurrently to run two commands in parallel. In this case I want to start my application and want to start cypress as well.
"cypress:open": "concurrently \"ng serve\" \"cypress open\""
If you now start the cypress tests you will notice that cypress created a folder “cypress” for you. In there is a folder called “integration” which is holding your tests
This is the default folder. You configure a lot in the cypress variables. Check them out and play around with them. The folder is quite interesting in the beginning because it provides a good starting point watching the file “example_spec.js” which contains some example tests.
The application
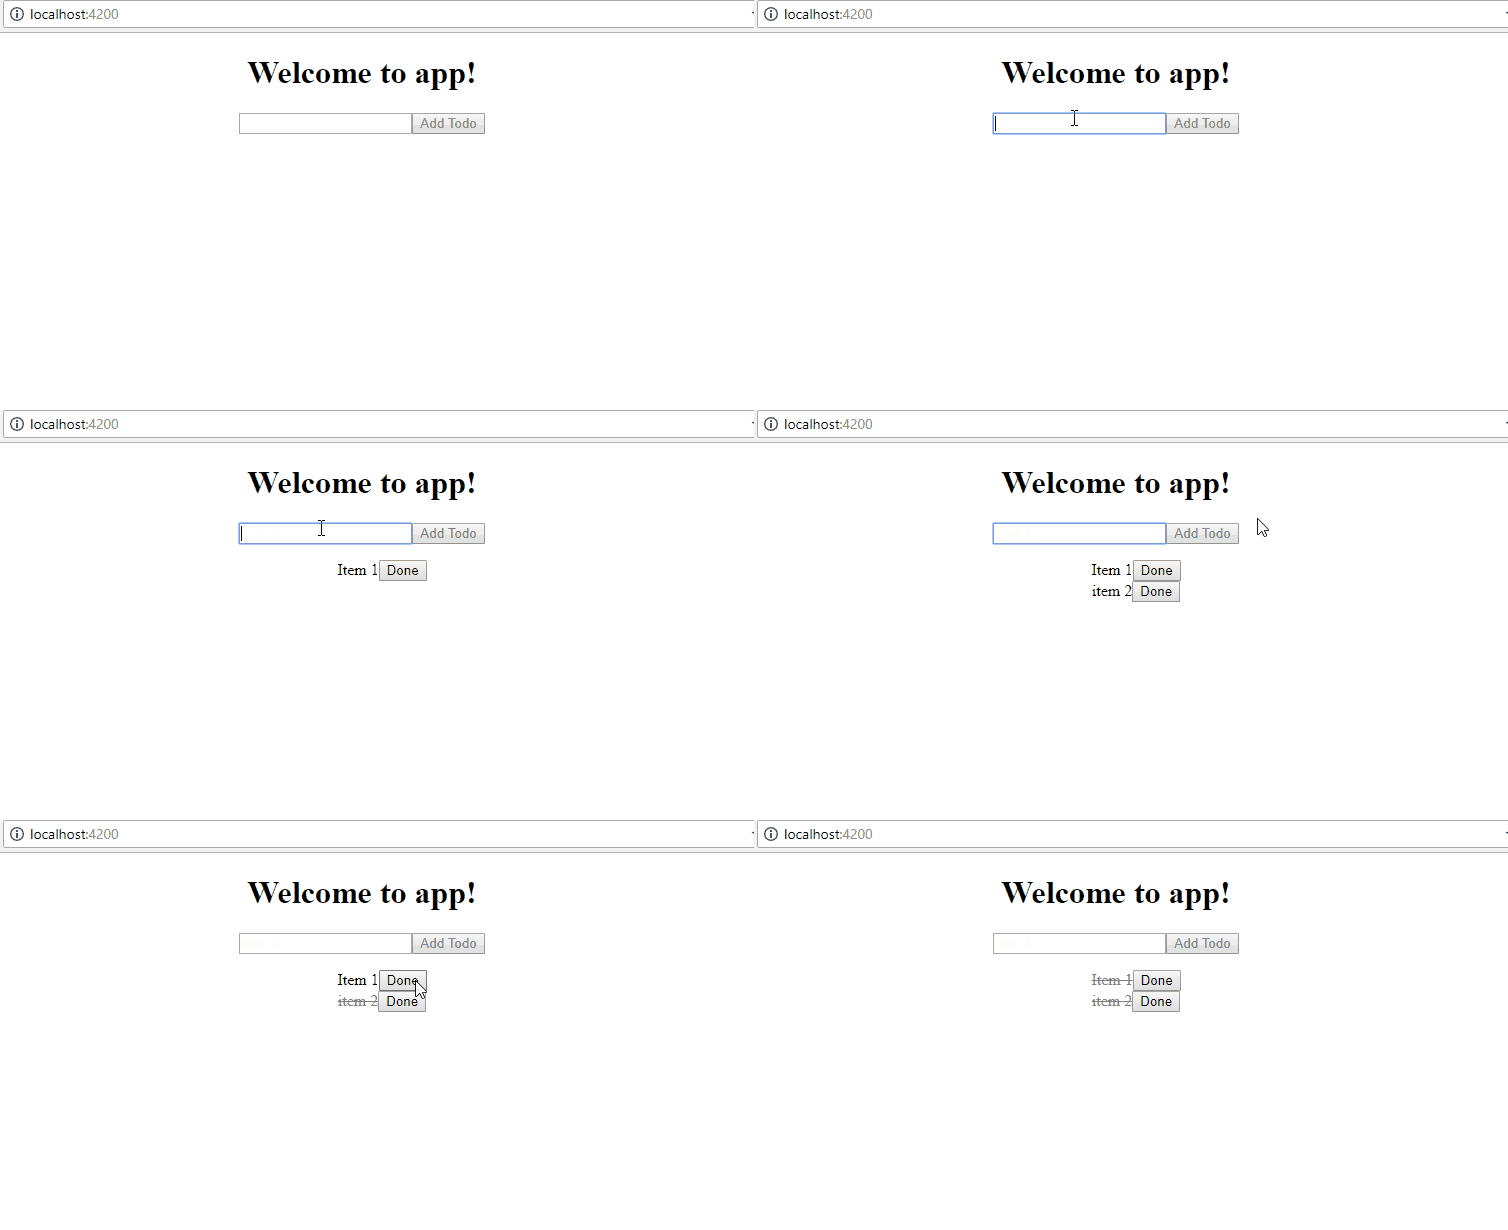
The application is rather easy and is a Todo-List which we want to test end-to-end. We have a form component which can throw the output of an added todo and a list component which can mark items as “done” and expects a list of items as input.

<p>
  <app-todo-form (onAddTodo)="addTodo($event)"></app-todo-form>
</p>
<p>
  <app-todo-list
    [items]="items"
    (onMarkAsDone)="markAsDone($event)"
  ></app-todo-list>
</p>
Every item gets a button beside it which can be clicked to mark the item as “done”. When an item is marked as “done” we will apply a css class called “inactive” on it.
<s *ngIf="item.done" class="inactive">{{item.description}}</s>
So even if it is a small todo application we have:
- an input which we can type something in
- a button which is not active when the input is empty
- another button for each todo item to mark it as done
- a todo list containing all the items no matter if they are marked as done or not
So this is a nice scope to get started wich cypress. So lets go and write some tests for first checking only the title.
<head>
  <title>CypressTest - TodoApp</title>
  <base href="/" />
  <!-- ...-->
</head>
Writing tests with Cypress
So let’s check if the title is correct as our first test. We can wrap all our tests in an describe method which takes a string and another method where we can implement the tests.
The well known “it” method then is wrapping our test directly. First of all we have to visit our site because otherwise we would not have anything to test. Once loaded, we can access the main properties via the “cy” object which cypress provides us.
describe('My First Test', () => {
  it('Application has the correct title!', () => {
    cy.visit('http://localhost:4200');
    cy.title().should('include', 'TodoApp');
  });
}
Notice that we write tests actually like we would describe them (well…sort of ;-) ). We will get to that point later again.
However, now we know how to visit a site and how to check properties…lets access some controls. Because that is the most interesting part. We can access controls like we would do it with jQuery with an id for example. So the button
<button id="myControlId">Button</button>
can be accessed with
cy.get('#myControlId');
Lets check if our “Add Todo” button contains the words “AddTodo”
<button id="addtodobutton" [disabled]="form.invalid">Add Todo</button>
it('Button has correct naming', () => {
  cy.visit('http://localhost:4200');
  cy.get('#addtodobutton').should('contain', 'Add Todo');
});
We do not want to write that cy.visit('http://localhost:4200'); everytime, so lets put that in a beforeEach at the top of our tests.
describe('My First Test', () => {
  beforeEach(function () {
    cy.visit('http://localhost:4200');
  });

  // ...`

  it('Button has correct naming', () => {
    cy.get('#addtodobutton').should('contain', 'Add Todo');
  });
});
Lets also check if the button is disabled if nothing has been typed in yet:
it('Add Todo button is disabled when input is empty', () => {
  cy.get('#addtodobutton').should('have.attr', 'disabled');
});
Again we can write tests like we would speak it.
Let’s take that a little bit further and get some things chained with cypress. Because getting something and testing it’s state is not the only thing we can do.
So let’s test if we get the button first it has the disabled attribute. Then lets get the input write something in it and then get the button again checking if the disabled attribute disappeared.
it('Add Todo button is enabled when input is not empty', () => {
  cy.get('#addtodobutton')
    .should('have.attr', 'disabled')
    .get('#todoinput')
    .type('SomeTodo')
    .get('#addtodobutton')
    .should('not.have.attr', 'disabled');
});
Again we can chain many of the attributes and methods which we can find attributes and assert things with. That is pretty easy to read, isn’t it?
Let’s get the todo, type something in, submit the complete form and see if the input got resetted. And all that with chaining the operators.
it('Submit Form should clear Input', () => {
  cy.get('#todoinput')
    .type('SomeTodo')
    .get('#addtodoform')
    .submit()
    .get('#todoinput')
    .should('have.value', '');
});
When getting the input we can type something in with the method “type(‘myText’)” and then get the form the same way and submit it. Then we can check the value of the input again and check if it is empty.
Lets test next if when we
- get the input
- enter something in the todo input
- get the form
- submit the form
- grab the list items then which …
- … should contain one item then
if we break up a test like this we can nearly overtake it 1:1 in our cypress test. Take a look:
it('After submitting form list should contain element', () => {
  cy.get('#todoinput')
    .type('SomeTodo')
    .get('#addtodoform')
    .submit()
    .get('#todolist>li')
    .its('length')
    .should('be.eq', 1);
});
To be complete now lets check if the item gets the correct css class appended if the “done” button was clicked.
it("After clicking 'done' the item should contain done css class", () => {
  cy.get('#todoinput')
    .type('SomeTodo')
    .get('#addtodoform')
    .submit()
    .get('#doneButton')
    .click()
    .get('#todolist>li s')
    .first()
    .should('have.class', 'inactive');
});
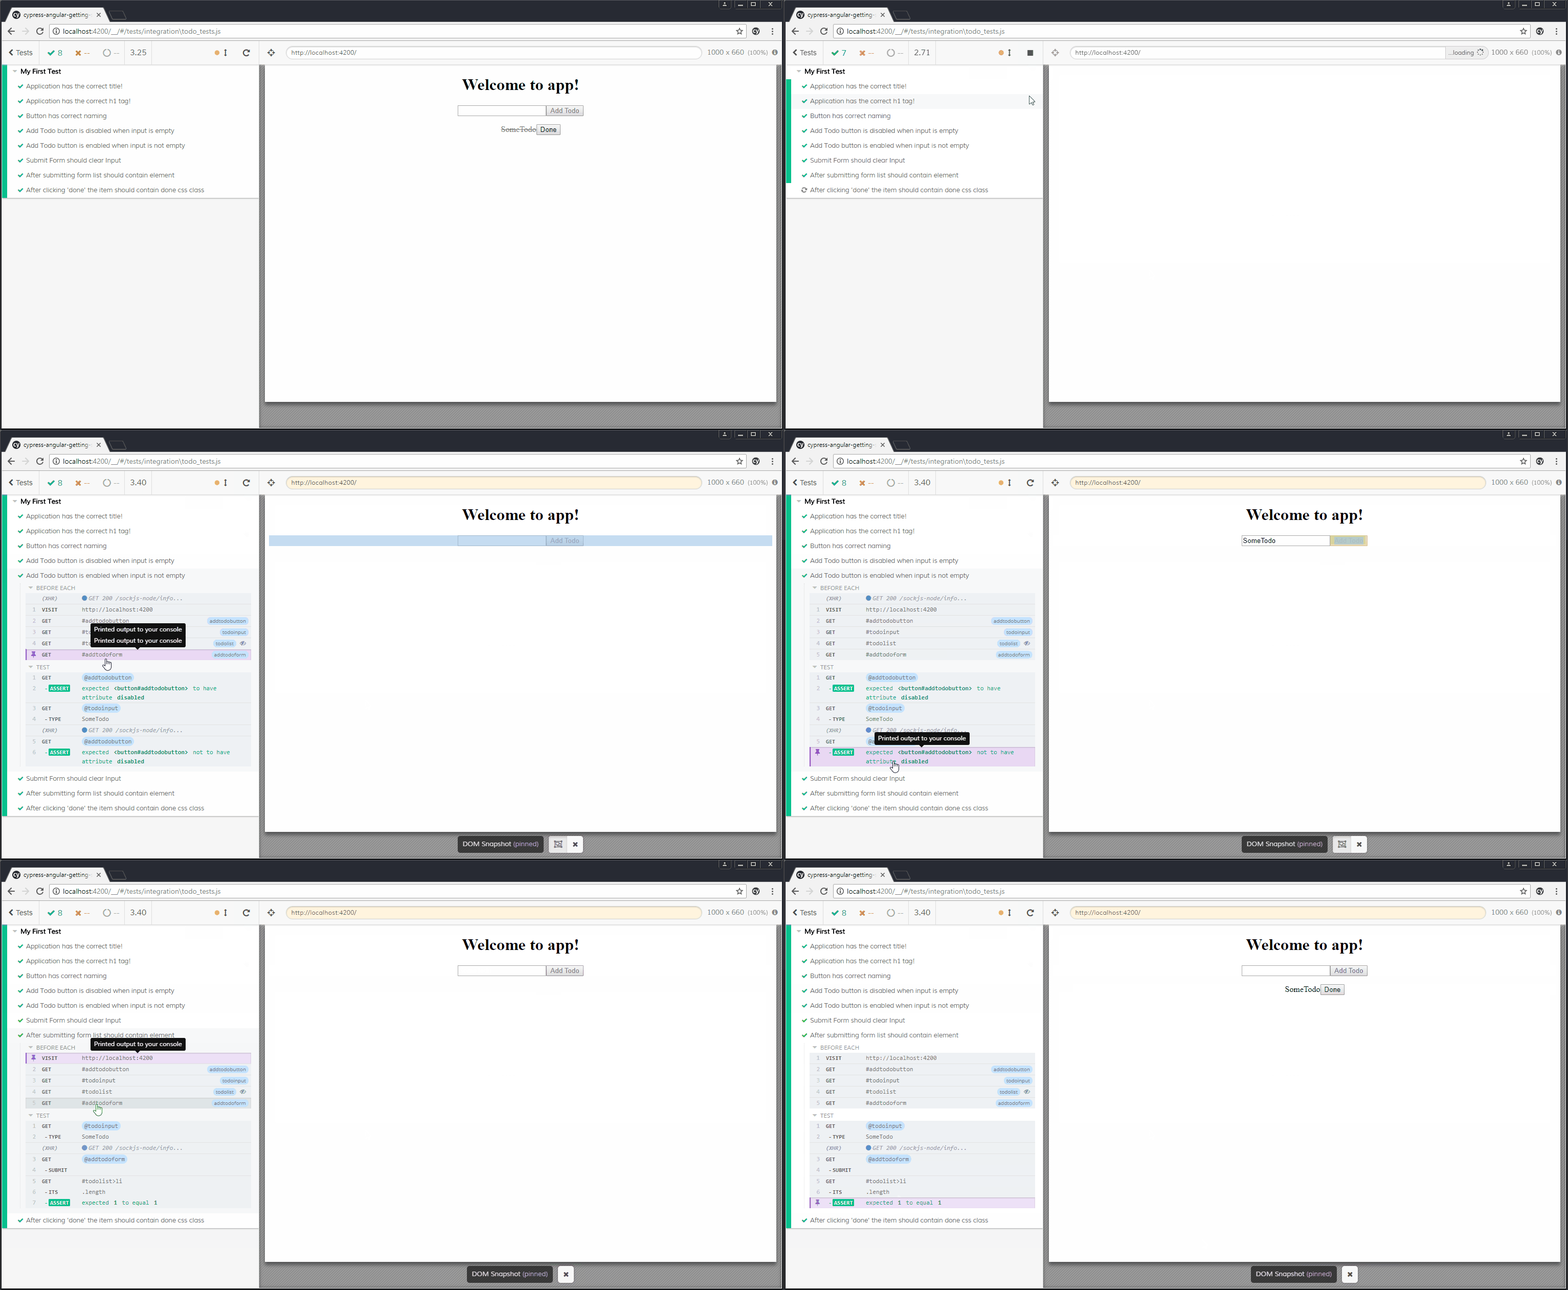
What I personally extremely like is that you can step through your tests via virtual snapshots and you can see all the different steps. Beside that I want to have mentioned that you can always take screenshots at a specific place in your test with the screenshot method of cypress.
Please check out the complete API here.

I hope I could give a a sneap peek on how easy it is to write end-to-end-tests with cypress.
Cheers
Fabian


