Angular and ASP.NET Core Starter
With this bIog I want to give you an Angular and ASP.NET Core Starter.
Code here:
https://github.com/FabianGosebrink/ASPNETCore-Angular-Webpack-StarterTemplate
Updated to the newest Versions
Nowadays you hear a lot of new technologies around the web stuff and with this post I want to show you a get-starting-guide how to start with the following technologies in general. I want to show how to set up an environment where you can start programming ASP.NET and Angular. As I started I spent a lot of time setting up all my tools and stuff. If you want to save this time: Go ahead reading.
So I want to have an environment where I can build an Angular web application with typescript, having an api where I can call to build with ASP.NET Core. We will also use Visual Studio Code to get the client-side programming going.
Lets start:
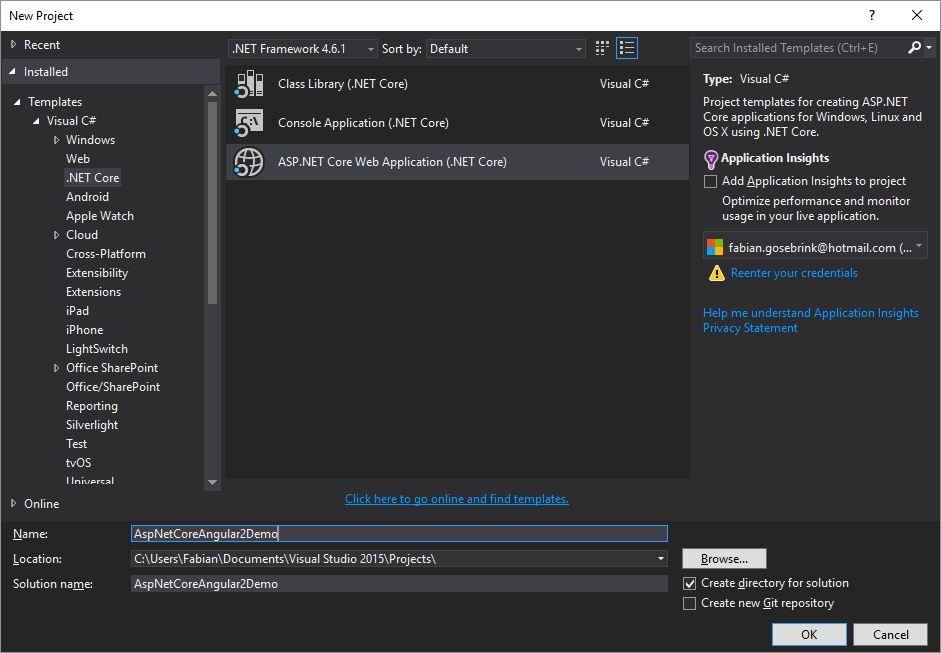
First thing to do is setting up our Visual Studio. Create a new application and choose the ASP.NET 5 Templates. I guess they will be renamed later ;-)
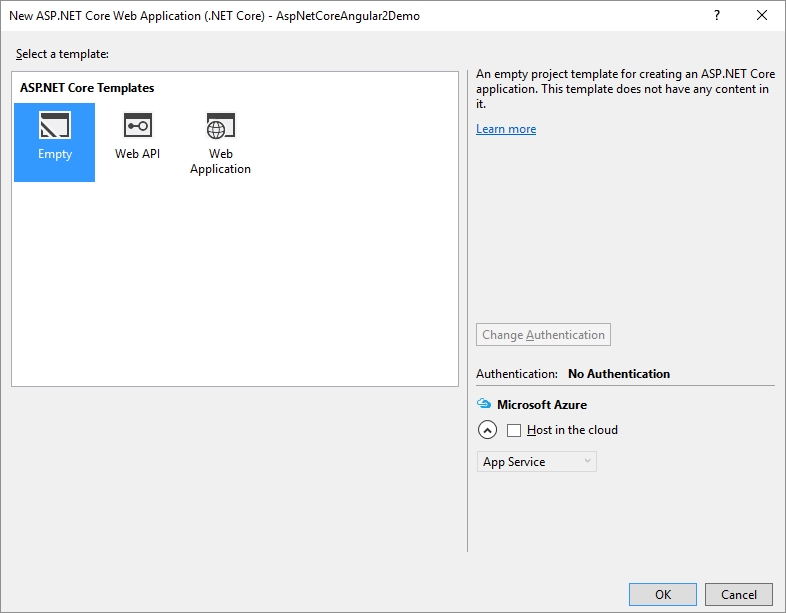
You will get an empty solution with no dependencies so far.
Visual Studio should now go ahead and resolve, download and install these packages.
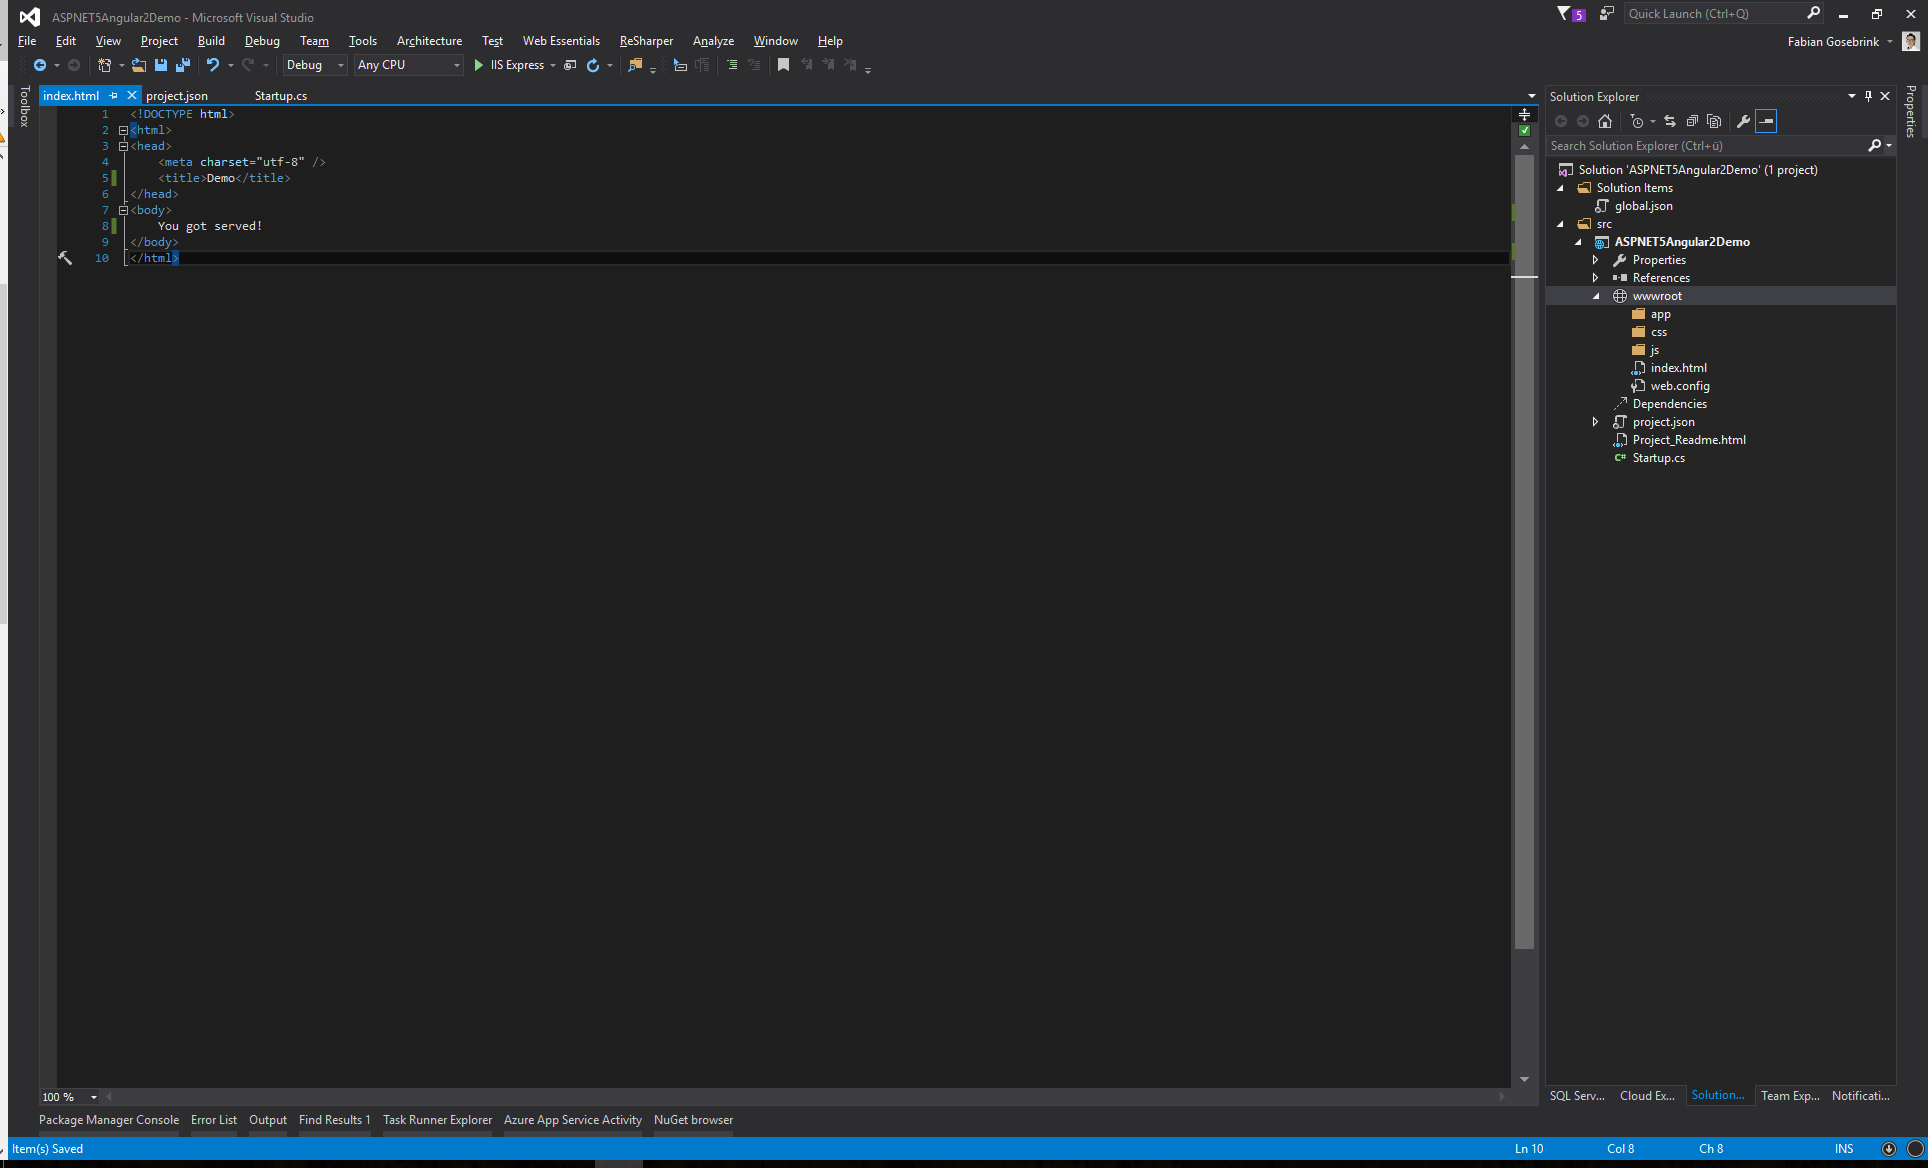
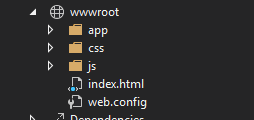
Now go on and add an “app”-Folder, a “js”-folder and a “css”-folder to the wwwroot-folder.
Everything in the wwwroot-folder is going to be served to the client. This is where our app lives. You can also build your application outside this folder and copy the relevant files in it via gulp etc. I am not doing this in this case because its easier to debug in the when launching. If you have a better approach I would love to hear it :)
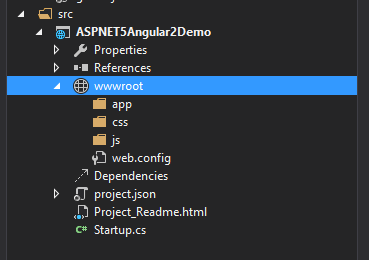
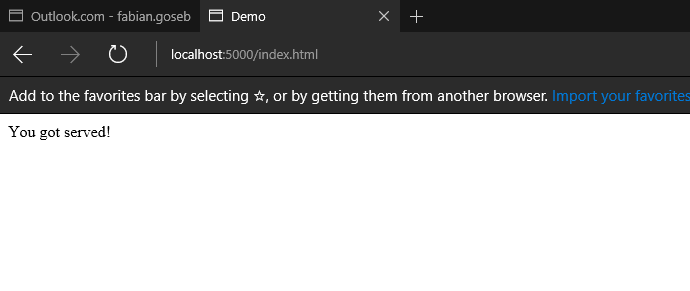
To get started with our web application we need an index.html. Lets add it and put nothing in it so far.
The Serverside/API
Lets get started with the serverside: To wire up everything we need to configure our application in the Startup.cs.
public class Startup
{
    public Startup(IConfiguration configuration)
    {
        Configuration = configuration;
    }

    public IConfiguration Configuration { get; }

    // This method gets called by the runtime. Use this method to add services to the container.
    // For more information on how to configure your application, visit http://go.microsoft.com/fwlink/?LinkID=398940
    public void ConfigureServices(IServiceCollection services)
    {
        services.AddOptions();
        services.AddCors(options =>
        {
            options.AddPolicy("AllowAllOrigins",
                builder =>
                {
                    builder
                        .AllowAnyOrigin()
                        .AllowAnyHeader()
                        .AllowAnyMethod();
                });
        });

        // Add framework services.
        services.AddMvc();
    }


    // This method gets called by the runtime. Use this method to configure the HTTP request pipeline.
    public void Configure(IApplicationBuilder app, IHostingEnvironment env, ILoggerFactory loggerFactory)
    {
        loggerFactory.AddConsole(Configuration.GetSection("Logging"));
        loggerFactory.AddDebug();

        if (env.IsDevelopment())
        {
            app.UseDeveloperExceptionPage();
        }
        else
        {
            app.UseExceptionHandler(errorApp =>
            {
                errorApp.Run(async context =>
                {
                    context.Response.StatusCode = 500;
                    context.Response.ContentType = "text/plain";
                    var errorFeature = context.Features.Get<IExceptionHandlerFeature>();
                    if (errorFeature != null)
                    {
                        var logger = loggerFactory.CreateLogger("Global exception logger");
                        logger.LogError(500, errorFeature.Error, errorFeature.Error.Message);
                    }

                    await context.Response.WriteAsync("There was an error");
                });
            });
        }

        app.UseDefaultFiles();
        app.UseStaticFiles();

        app.UseCors("AllowAllOrigins");

        app.UseMvc();
    }
}
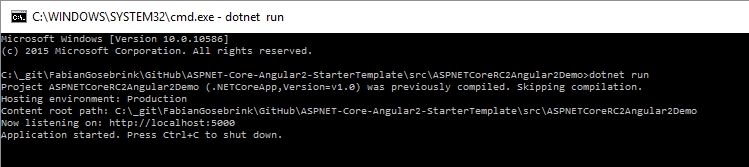
Our application should now be able to start up. In the commandline and type “dotnet run” in it. This will start a webserver and serve all files in wwwroot.
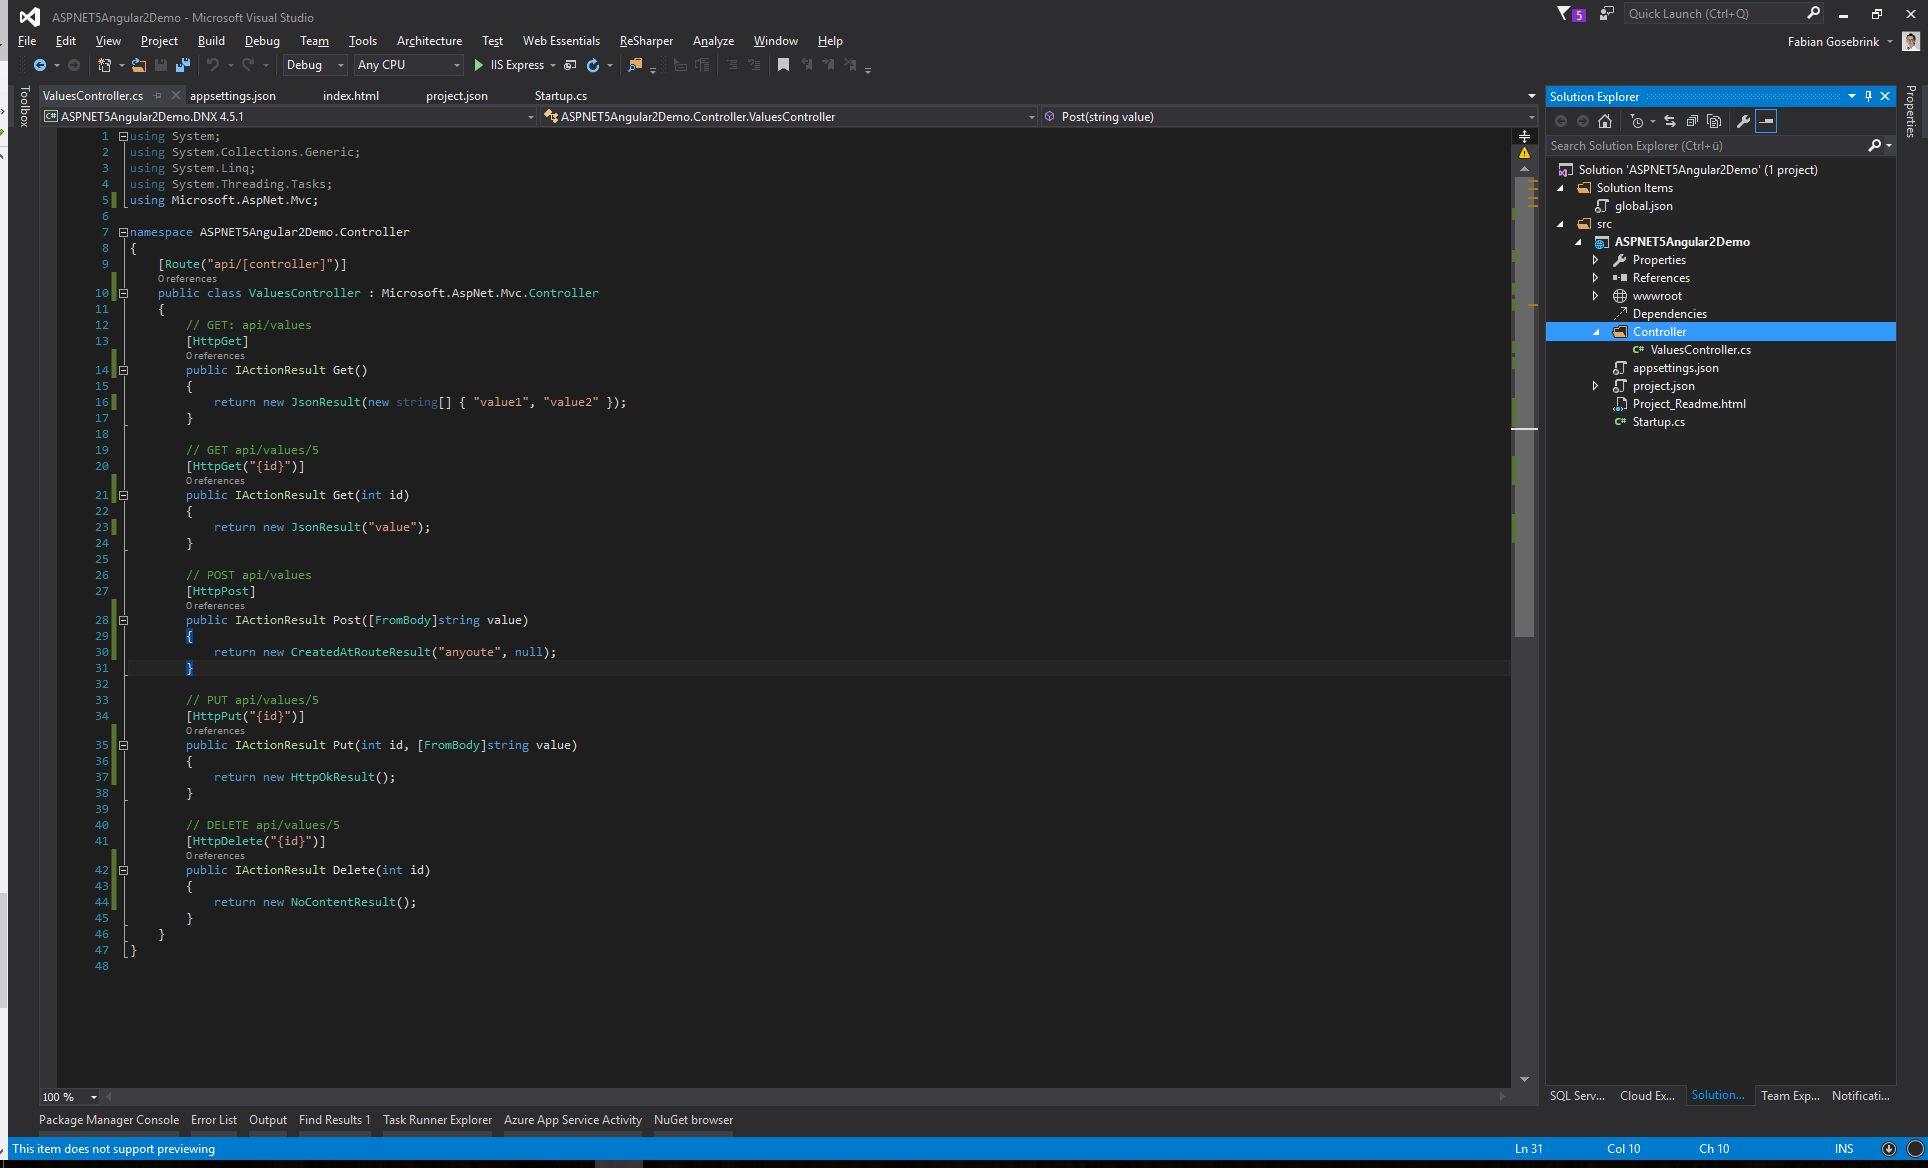
Great so far! Now we can add a controller!
For this go ahead in the root of the project and add a folder “Controller” which wil hold all the controllers for us. Then you can add an standardcontroller for the first run.
I like to stay to IActionResult-Interface in my controllers. It provides me a way I am used to and is clearer for me. You do not have to do this. The controller is for demo purposes.
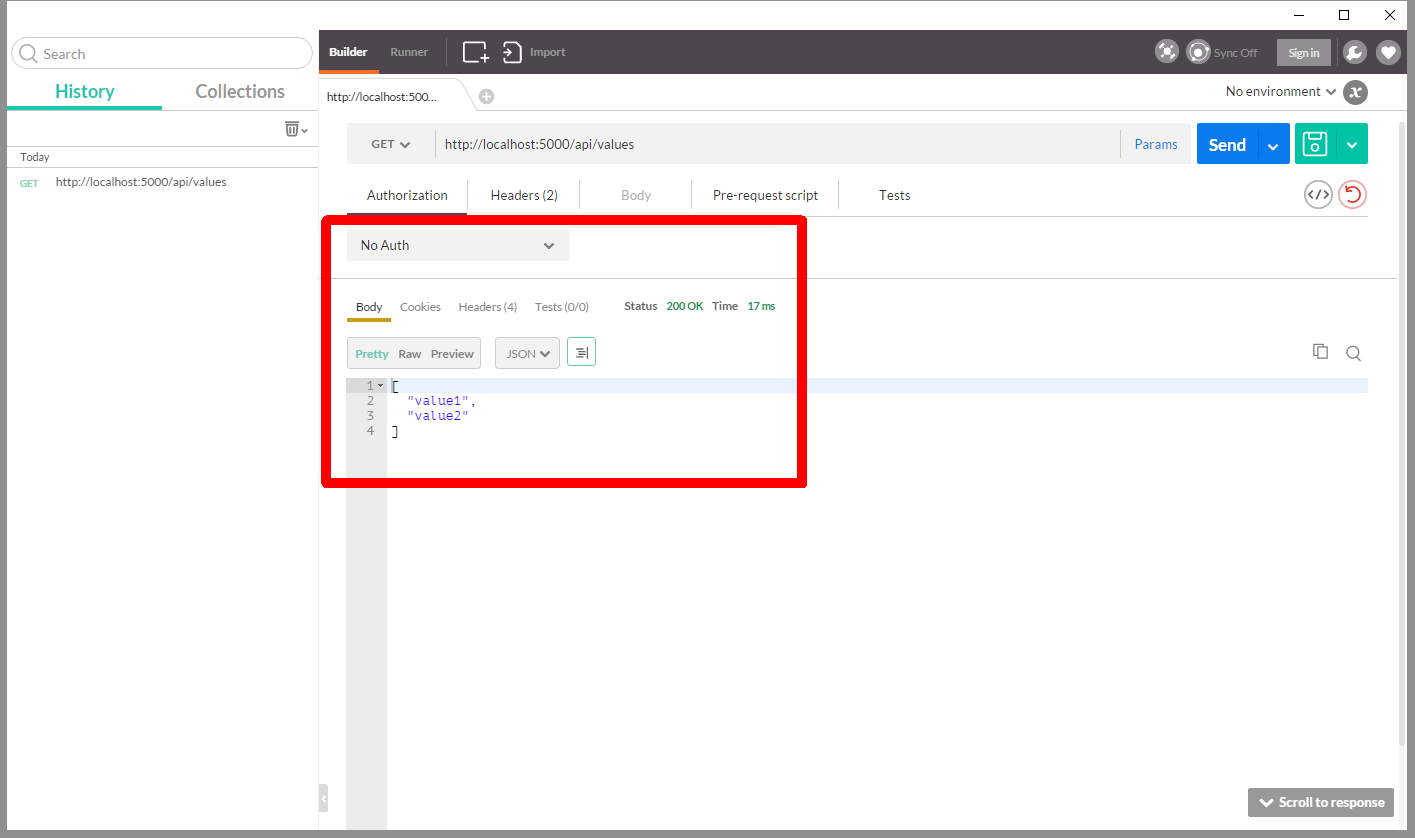
If we now run the server again with “dotnet run” it will start and via Postman we can check if everything works correctly:
The Client
Great. So lets start clientside. What we need is an Angular environment. For the tooling I made the best experiences using Visual Studio Code.
We already defined the wwwroot-Folder which holds every file which is transported to the client.
As we start developing Angular we have to prepare our environment for working with Typescript. I already have an instruction how to start in a previous blog post Getting started with Visual Studio Code & Typescript. But lets cover some thing in short to get it customised for this Angular case.
Lets add a file for configuring the typescript-options for our project: tsconfig.json to the root of our project.
{
  "compilerOptions": {
    "target": "es5",
    "module": "es2015",
    "moduleResolution": "node",
    "sourceMap": true,
    "emitDecoratorMetadata": true,
    "experimentalDecorators": true,
    "removeComments": true,
    "noImplicitAny": true,
    "skipLibCheck": true,
    "lib": [
      "es2015",
      "dom"
    ],
    "typeRoots": [
      "./node_modules/@types/"
    ]
  },
  "exclude": [
    "node_modules",
    "angularApp/app/main-aot.ts"
  ],
  "awesomeTypescriptLoaderOptions": {
    "useWebpackText": true
  },
  "compileOnSave": false,
  "buildOnSave": false
}
Adding Angular
Angular is served via npm. To get Angular we have to add a package.json to the root of our project. “npm start” will run the lite-server, compile the *.ts files and start the watcher :)
{
  "name": "aspnetcore-angular-webpack-starter",
  "version": "0.0.0",
  "license": "MIT",
  "description": "a small starter package for angular and asp.net core",
  "scripts": {
    "ngc": "ngc -p ./tsconfig-aot.json",
    "start": "concurrently \"webpack-dev-server --env=dev --hot --inline --port 8080 --open\" \"dotnet run\" ",
    "build:dev": "webpack --env=dev --progress --profile --colors",
    "build:dist": "webpack --env=prod --progress --profile --colors",
    "lint": "tslint ./angularApp/**/*.ts -t verbose",
    "tsc": "tsc",
    "tsc:w": "tsc -w"
  },
  "keywords": [],
  "author": "Fabian Gosebrink",
  "dependencies": {
    "@angular/animations": "^4.3.5",
    "@angular/common": "~4.3.5",
    "@angular/compiler": "~4.3.5",
    "@angular/compiler-cli": "~4.3.5",
    "@angular/core": "~4.3.5",
    "@angular/forms": "~4.3.5",
    "@angular/http": "~4.3.5",
    "@angular/platform-browser": "~4.3.5",
    "@angular/platform-browser-dynamic": "~4.3.5",
    "@angular/platform-server": "~4.3.5",
    "@angular/router": "~4.3.5",
    "@angular/upgrade": "~4.3.5",
    "angular-in-memory-web-api": "0.3.2",
    "angular2-toaster": "^4.0.1",
    "bootstrap": "^3.3.7",
    "core-js": "2.5.0",
    "ie-shim": "~0.1.0",
    "jquery": "^3.2.1",
    "ng2-slim-loading-bar": "^4.0.0",
    "reflect-metadata": "0.1.10",
    "rxjs": "5.4.3",
    "zone.js": "0.8.16"
  },
  "devDependencies": {
    "@ngtools/webpack": "^1.6.1",
    "@types/jasmine": "^2.5.53",
    "@types/node": "8.0.24",
    "angular-router-loader": "^0.6.0",
    "angular2-template-loader": "^0.6.2",
    "awesome-typescript-loader": "^3.2.3",
    "canonical-path": "0.0.2",
    "clean-webpack-plugin": "^0.1.16",
    "codelyzer": "^3.1.2",
    "concurrently": "^3.5.0",
    "copy-webpack-plugin": "^4.0.1",
    "css-loader": "^0.28.5",
    "extract-text-webpack-plugin": "3.0.0",
    "file-loader": "^0.11.2",
    "html-loader": "^0.5.1",
    "html-webpack-plugin": "^2.30.1",
    "http-server": "^0.10.0",
    "json-loader": "^0.5.7",
    "lite-server": "^2.3.0",
    "lodash": "^4.17.4",
    "node-sass": "^4.5.3",
    "protractor": "~5.1.2",
    "raw-loader": "^0.5.1",
    "rimraf": "^2.6.1",
    "sass-loader": "^6.0.6",
    "source-map-loader": "^0.2.1",
    "style-loader": "^0.18.2",
    "ts-helpers": "^1.1.2",
    "tslint": "^5.6.0",
    "tslint-loader": "^3.5.3",
    "typescript": "~2.4.2",
    "url-loader": "^0.5.9",
    "webpack": "^3.5.5",
    "webpack-dev-server": "^2.7.1"
  },
  "-vs-binding": {
    "BeforeBuild": [
      "build:dev"
    ]
  }
}
or type “npm init” to answer all questions and get an package.json file generated.
After this you can install Angular and all other dependencies via “npm install” or Visual Studio will do this for you automatically. This will be done in a few seconds. It will add a node_modules folder to your root application and copy all files, also the *.d.ts-files you need to develop with typescript.
Webpack
Now we have to configure the webpack as so:
const ExtractTextPlugin = require('extract-text-webpack-plugin');
const webpack = require('webpack');
const HtmlWebpackPlugin = require('html-webpack-plugin');
const CleanWebpackPlugin = require('clean-webpack-plugin');
const path = require('path');

module.exports = {
  entry: {
    app: './angularApp/app/main.ts',
  },
  devtool: 'cheap-module-eval-source-map',
  performance: {
    hints: false,
  },
  resolve: {
    extensions: ['.ts', '.js', '.json'],
  },
  output: {
    path: path.join(__dirname, 'wwwroot'),
    filename: 'js/[name].bundle.js',
  },

  module: {
    rules: [
      {
        test: /\.ts$/,
        use: [
          'awesome-typescript-loader',
          'angular-router-loader',
          'angular2-template-loader',
          'source-map-loader',
          'tslint-loader',
        ],
      },
      {
        test: /\.html$/,
        use: 'html-loader',
      },
      {
        test: /\.(png|jpg|gif|ico|woff|woff2|ttf|svg|eot)$/,
        use: 'file-loader?name=assets/[name].[ext]',
      },
      {
        test: /\.css$/,
        use: ExtractTextPlugin.extract({
          fallback: 'style-loader',
          use: 'css-loader',
        }),
      },
    ],
  },
  plugins: [
    new ExtractTextPlugin('css/[name].bundle.css'),
    new webpack.optimize.ModuleConcatenationPlugin(),
    new webpack.optimize.CommonsChunkPlugin({
      name: ['app', 'vendor', 'polyfills'],
    }),
    new CleanWebpackPlugin([
      './wwwroot/js/',
      './wwwroot/css/',
      './wwwroot/assets/',
      './wwwroot/index.html',
    ]),
    new webpack.ContextReplacementPlugin(
      /angular(\\|\/)core(\\|\/)@angular/,
      path.resolve(__dirname, '../src')
    ),
    // inject in index.html
    new HtmlWebpackPlugin({
      template: './angularApp/index.html',
      inject: 'body',
      filename: 'index.html',
    }),
    new webpack.ProvidePlugin({
      jQuery: 'jquery',
      $: 'jquery',
      jquery: 'jquery',
    }),
  ],
  devServer: {
    historyApiFallback: true,
    stats: 'minimal',
  },
};
Now go ahead in you index.html and link to the files in the client js folder:
<!DOCTYPE html>
<html>
  <head>
    <base href="/" />
    <title>ASP.NET Core Angular Webpack Demo</title>
  </head>

  <body>
    <app-sample>Loading...</app-sample>
  </body>
</html>
Finally…
We are done so far:
You can now go ahead and develop you application in Typescript and Angular. You could start with the Angular quickstart. All files you need should be there. Its important to add the main.ts to get an entry point and bootstrapping your application.
If you, like me, always forget to compile the typescript files: open a cmd in the app folder and type “npm run tsc:w”. This activates a typescript watcher using the tsconfig in the root of the project and will always compile the _.ts files into _.js files if there are some changes
Further steps:
You could now start using gulp/grunt to copy files to the locations automatically instead of doing it manually. Or you could start consuming the api using the http-Service like shown here. I have done that all in my example repository here on Github. Hope you like it.
https://github.com/FabianGosebrink/ASPNETCore-Angular-Webpack-StarterTemplate
Regards & HTH
Fabian